In DirectAdmin, email accounts serve as a means of communication, allowing users to send and receive emails using their domain name. Here’s how you can set up an email account in directadmin.
To create an email account in a web hosting environment, you typically use a control panel provided by your hosting provider, such as cPanel, Plesk, or DirectAdmin. Here’s a general guide on how to create an email account using directadmin.
Table of Contents
Use of email account in directadmin
In DirectAdmin, email accounts serve various purposes, primarily revolving around communication and organizational efficiency. Here are some common uses of email accounts in DirectAdmin:
- Business Communication: Email accounts enable businesses to communicate effectively with clients, partners, and employees. Users can send and receive messages related to inquiries, transactions, updates, and general correspondence.
- Customer Support: Email accounts can be used for managing customer support inquiries. DirectAdmin users can create dedicated support email addresses to streamline communication and provide timely responses to customer queries and concerns.
- Internal Communication: Email accounts facilitate internal communication within organizations. Employees can use email to collaborate, share information, schedule meetings, and coordinate tasks efficiently.
- Marketing and Promotion: DirectAdmin users can utilize email accounts to send marketing materials, newsletters, promotions, and updates to subscribers and customers. Email marketing campaigns can help businesses engage with their audience, promote products or services, and drive sales.
- Account Management: Email accounts play a crucial role in managing user accounts and notifications within DirectAdmin. Users receive important notifications, such as account activation, password resets, billing reminders, and system updates, via email.
- Personal Communication: Individuals can use email accounts for personal communication with friends, family, and colleagues. DirectAdmin provides the tools to create and manage personal email accounts associated with custom domain names.
- File Sharing: Email accounts can be used to send and receive files as attachments, making it convenient to share documents, images, videos, and other files securely within DirectAdmin.
- Spam Filtering and Security: DirectAdmin offers built-in spam filtering and security features to protect email accounts from spam, phishing attempts, malware, and other threats. Users can configure spam filters, antivirus scanning, and other security settings to enhance email security.
Overall, email accounts in DirectAdmin serve as essential tools for communication, collaboration, marketing, and productivity, helping users efficiently manage their online presence and business operations.
Email account creation in directadmin
To create email accounts in DirectAdmin control panel, follow these steps:
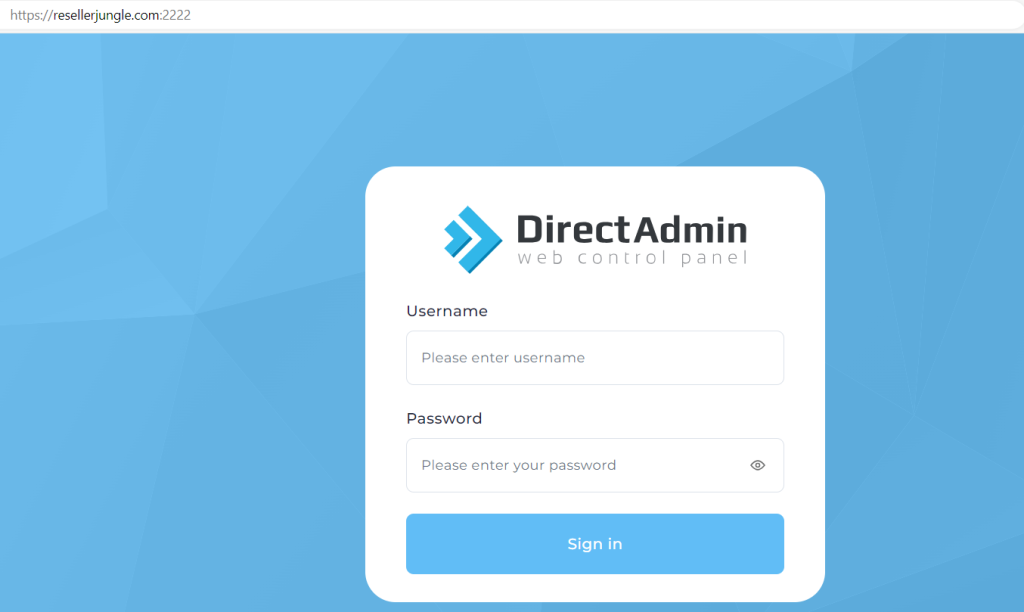
Log in to DirectAdmin: Go to your DirectAdmin control panel login page and enter your credentials to log in.
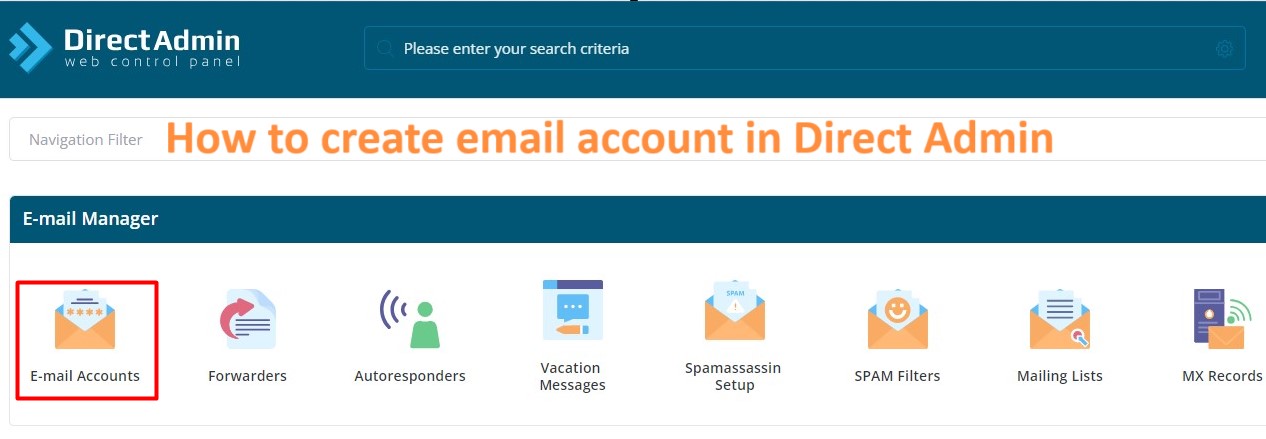
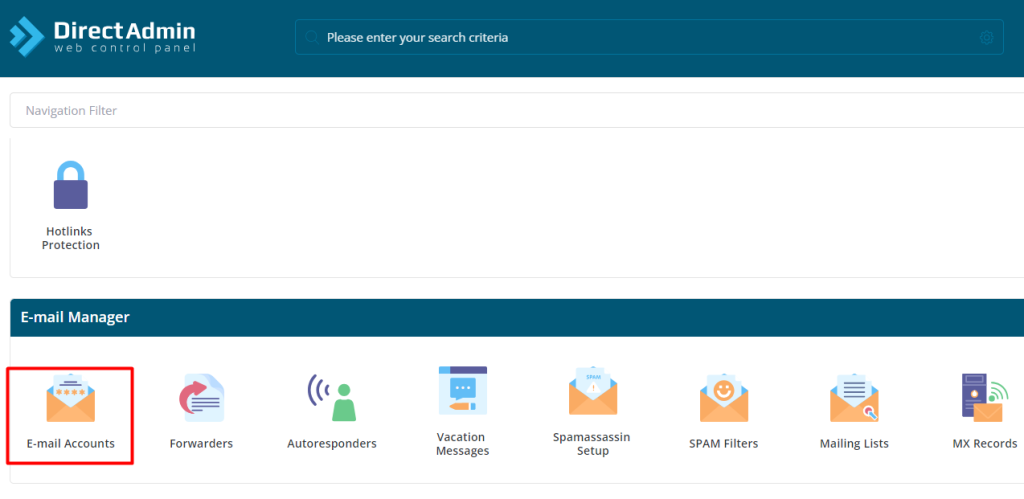
Navigate to Email Accounts: Once logged in, navigate to the section for managing email accounts. This is typically found under “Email Manager” or similar headings.
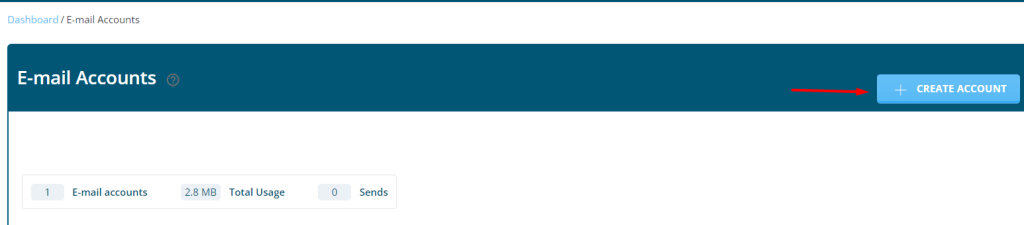
Add New Email Account: Look for an option to add or create a new email account. This could be labeled as “Add Email Account”, “Create Email”, or something similar.
Enter Account Details: You’ll need to provide some basic information for the new email account:
- Email Address: Enter the desired email address (e.g., example@yourdomain.com).
- Password: Set a password for the email account. Make sure it’s strong and secure.
- Quota: Specify the mailbox quota if there’s a limit to the amount of storage this email account can use. You can set this according to your preferences or leave it unlimited if there are no specific constraints.
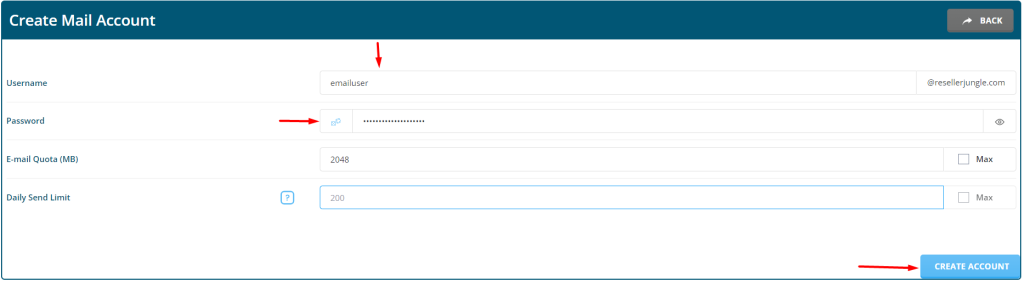
Save or Create the Account: After entering the necessary details, look for a button or option to save or create the email account. Click on it to finalize the creation process.
Verify: Some control panels may require you to verify the email account creation, typically through a confirmation email sent to the newly created address. Follow any prompts or instructions for verification if necessary.
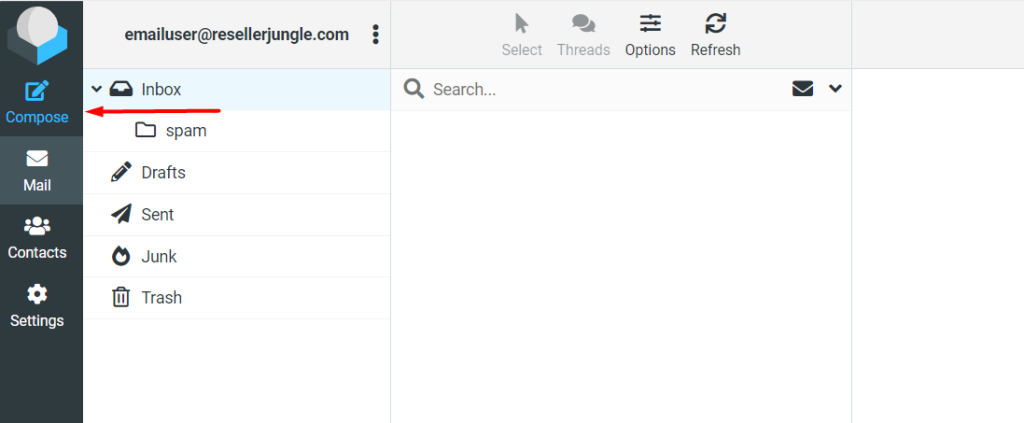
Test the Email Account: Once created, you can test the new email account by logging in through a webmail interface or configuring it in an email client like Outlook, Thunderbird, or the native mail app on your device.
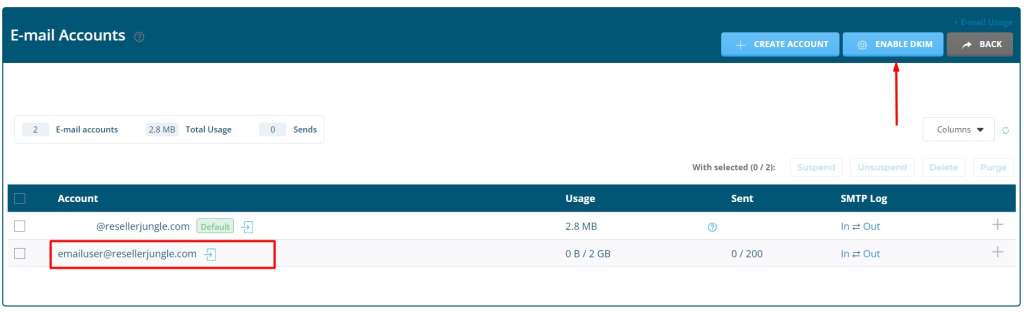
Manage Existing Accounts: Additionally, you can manage existing email accounts through the same interface. This includes options to change passwords, adjust quotas, delete accounts, and more.
Remember to keep track of your email accounts and their passwords securely. It’s also a good practice to periodically review and manage your email accounts for security and efficiency purposes.