In cPanel, a cron job is a scheduled task that runs automatically at specified intervals. These tasks are often used for automated maintenance or for executing scripts and commands on a server without manual intervention.
A cron job in a hosting control panel, such as cPanel, is a scheduled task that runs automatically on a server at specified intervals.
Hosting control panels like cPanel provide users with an easy-to-use interface to manage various aspects of their web hosting account, including setting up cron jobs.

Table of Contents
Useful purpose of cron jobs
Cron jobs are useful for a variety of purposes, including:
- Regular Maintenance: Running scripts to clean up log files, database backups, temporary files, etc., on a scheduled basis.
- Scheduled Tasks: Automating tasks such as sending email newsletters, generating reports, updating website content, etc., at specific times or intervals.
- System Monitoring: Running monitoring scripts to check server health, resource usage, website uptime, and other important metrics at regular intervals.
- Data Synchronization: Synchronizing data between servers, databases, or applications on a predefined schedule.
- Security Checks: Running security scans, applying updates, and performing other security-related tasks automatically and regularly.
By setting up cron jobs in cPanel, users can automate repetitive tasks, improve efficiency, and ensure that important processes are executed on time without manual intervention. The cPanel interface provides an easy way to manage and configure cron jobs for users who may not be comfortable working with command-line tools directly.

Set Up a Cron Job
Setting up a cron job in cPanel is a straightforward process. Cron jobs are scheduled tasks that run at predetermined intervals on your server. Here’s how you can set up a cron job in cPanel:
Login to cPanel: Access your cPanel account using your credentials.
Locate the Cron Jobs: Once logged in, look for the “Cron Jobs” icon, usually found under the “Advanced” or “Metrics” section. Click on it to proceed.
Choose the Cron Job Interval: In the Cron Jobs interface, you’ll find options to set the interval at which your cron job will run. You can select from common intervals (e.g., every minute, every hour) or specify a custom interval using the “Common Settings” dropdown or by directly typing the values into the fields for minutes, hours, days, etc.
Enter the Command: In the “Command” field, enter the command you want the cron job to execute. This could be a script file, a PHP script, or any other command-line instruction.
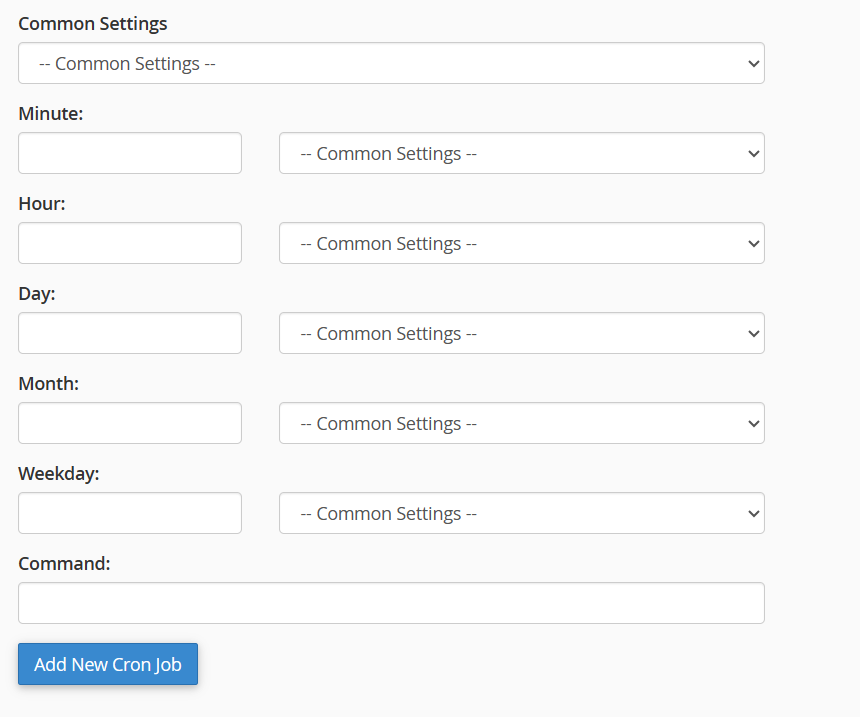
Save the Cron Job: Once you’ve entered the command and set the interval, click on the “Add New Cron Job” button or similar option available in your cPanel interface. This will save the cron job, and it will start running according to the specified schedule.
Verify and Monitor: After adding the cron job, it’s a good idea to verify that it’s working as expected. You can do this by checking the output of the cron job (if any) or by monitoring the behavior of your application or server to ensure that the scheduled tasks are being executed correctly.
That’s it! You’ve successfully set up a cron job in cPanel. You can manage and edit your cron jobs from the same interface if you need to make any changes in the future.