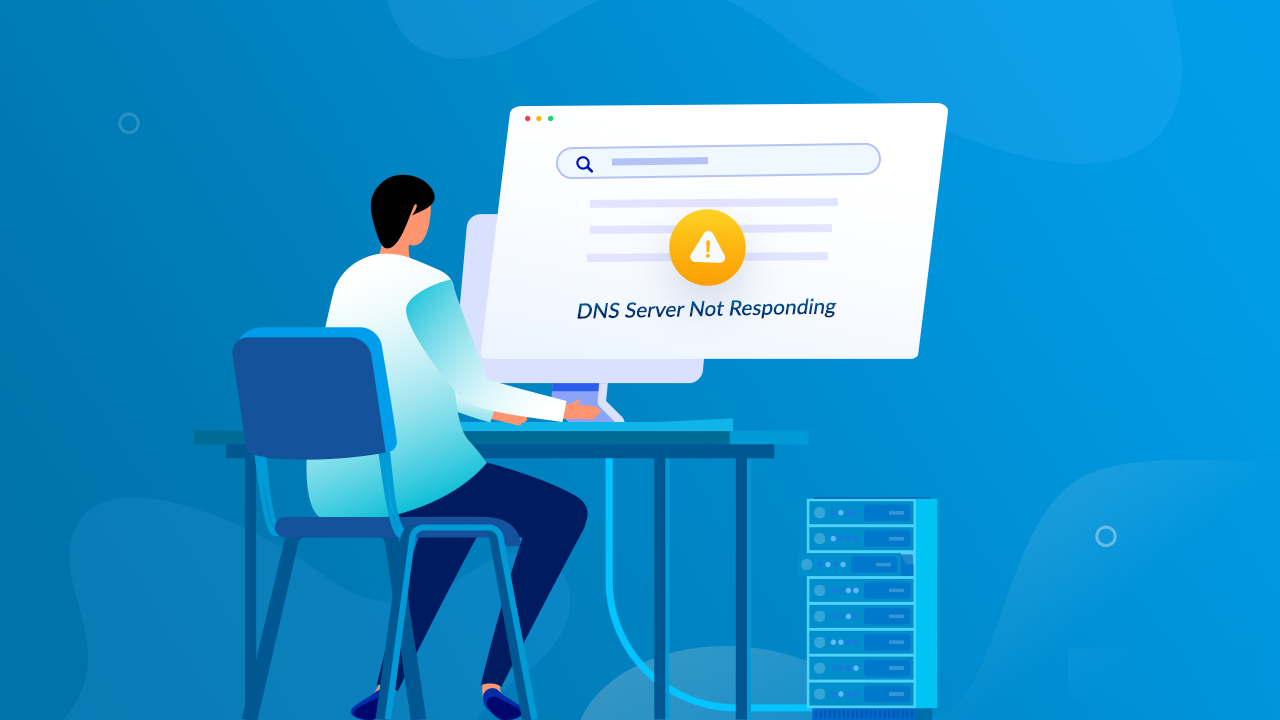
The “DNS Server Not Responding” error occurs when your computer or device is unable to connect to the DNS (Domain Name System) server to translate domain names into IP addresses.
The DNS server plays a crucial role in translating human-friendly domain names (like www.example.com) into IP addresses that computers use to identify each other on the network.
The “DNS Server Not Responding” error is a common networking issue that occurs when the DNS server (Domain Name System) that your computer is using cannot translate domain names into IP addresses. This can prevent you from accessing websites, and it’s a common problem that can be resolved with a few troubleshooting steps. Below are some methods to fix the “DNS Server Not Responding” error:
Table of Contents
Common Causes of “DNS Server Not Responding” Error:

- DNS Server Issues: The DNS server you are trying to connect to may be down or not responding.
- Incorrect DNS Settings: Incorrect DNS settings on your computer or router can cause the “DNS Server Not Responding” error.
- Network Connection Issues: Issues with your network connection or router can prevent your computer from connecting to the DNS server.
- Firewall or Security Software: Firewall or security software on your computer may block the connection to the DNS server, causing the “DNS Server Not Responding” error.
- ISP Issues: Your Internet Service Provider (ISP) may be experiencing DNS server issues.
Method 1: Restart Your Router and Computer
- Sometimes, simply restarting your router and computer can resolve the “DNS Server Not Responding” error.
- Turn off your computer and router.
- Wait for a few minutes.
- Turn on your router first and then your computer.
Method 2: Change DNS Server Settings
- You can try changing your DNS server settings to use public DNS servers like Google DNS or Cloudflare DNS. For Windows:
- Open Control Panel and go to “Network and Internet” > “Network and Sharing Center”.
- Click on “Change adapter settings”.
- Right-click on your network connection and select “Properties”.
- Select “Internet Protocol Version 4 (TCP/IPv4)” and click “Properties”.
- Select “Use the following DNS server addresses” and enter the following:
- Preferred DNS server:
8.8.8.8 - Alternate DNS server:
8.8.4.4
- Preferred DNS server:
- Click “OK” to save the settings.
- Go to Apple menu > “System Preferences” > “Network”.
- Select your network connection and click “Advanced”.
- Go to the “DNS” tab.
- Click the
+button and add the following DNS servers:8.8.8.88.8.4.4
- Click “OK” to save the settings.
Method 3: Flush DNS Cache
- Flushing the DNS cache can sometimes resolve the “DNS Server Not Responding” error. For Windows:
- Open Command Prompt as an administrator.Run the following command:
ipconfig /flushdns
- Open Terminal.
- Run the following command:
sudo killall -HUP mDNSResponder
- Open Command Prompt as an administrator.Run the following command:
Method 4: Disable Proxy Settings
- Proxy settings can sometimes interfere with the DNS resolution process. For Windows:
- Open Control Panel and go to “Network and Internet” > “Internet Options”.
- Go to the “Connections” tab and click on “LAN settings”.
- Uncheck the box next to “Use a proxy server for your LAN”.
- Click “OK” to save the settings.
- Go to Apple menu > “System Preferences” > “Network”.
- Select your network connection and click “Advanced”.
- Go to the “Proxies” tab and uncheck any proxy protocols that are enabled.
- Click “OK” to save the settings.
Method 5: Contact Your ISP
- If none of the above methods work, the issue might be with your Internet Service Provider (ISP). Contact your ISP’s customer support to check if there are any network issues causing the “DNS Server Not Responding” error.
Final Thoughts
After trying the above methods, if you are still facing the “DNS Server Not Responding” error, the problem could be more complex and might require advanced troubleshooting. In such cases, you may need to consult with a network expert or contact your ISP’s technical support team for further assistance.


