Downloading backups from cPanel is a straightforward process.
It refers to the process of saving copies of your website’s files, databases, and settings to a local storage location, such as your computer or external storage device. These backups serve as a safety net, allowing you to restore your website in case of data loss, hacking, or other unforeseen issues.
Table of Contents
Why Download Backups in cPanel?
- Data Protection: Protects your website’s data and files against accidental deletion, corruption, or loss.
- Disaster Recovery: Enables quick recovery in case of website hacking, malware, server issues, or other technical problems.
- Migration or Transfer: Facilitates website migration or transfer to a new hosting provider or server.
Types of Backups in cPanel:
- Full Backup: Includes all website files (WordPress core files, themes, plugins, images, and other uploads) and the entire database.
- Partial Backup: Includes specific website files or database tables, such as themes, plugins, or specific posts/pages.
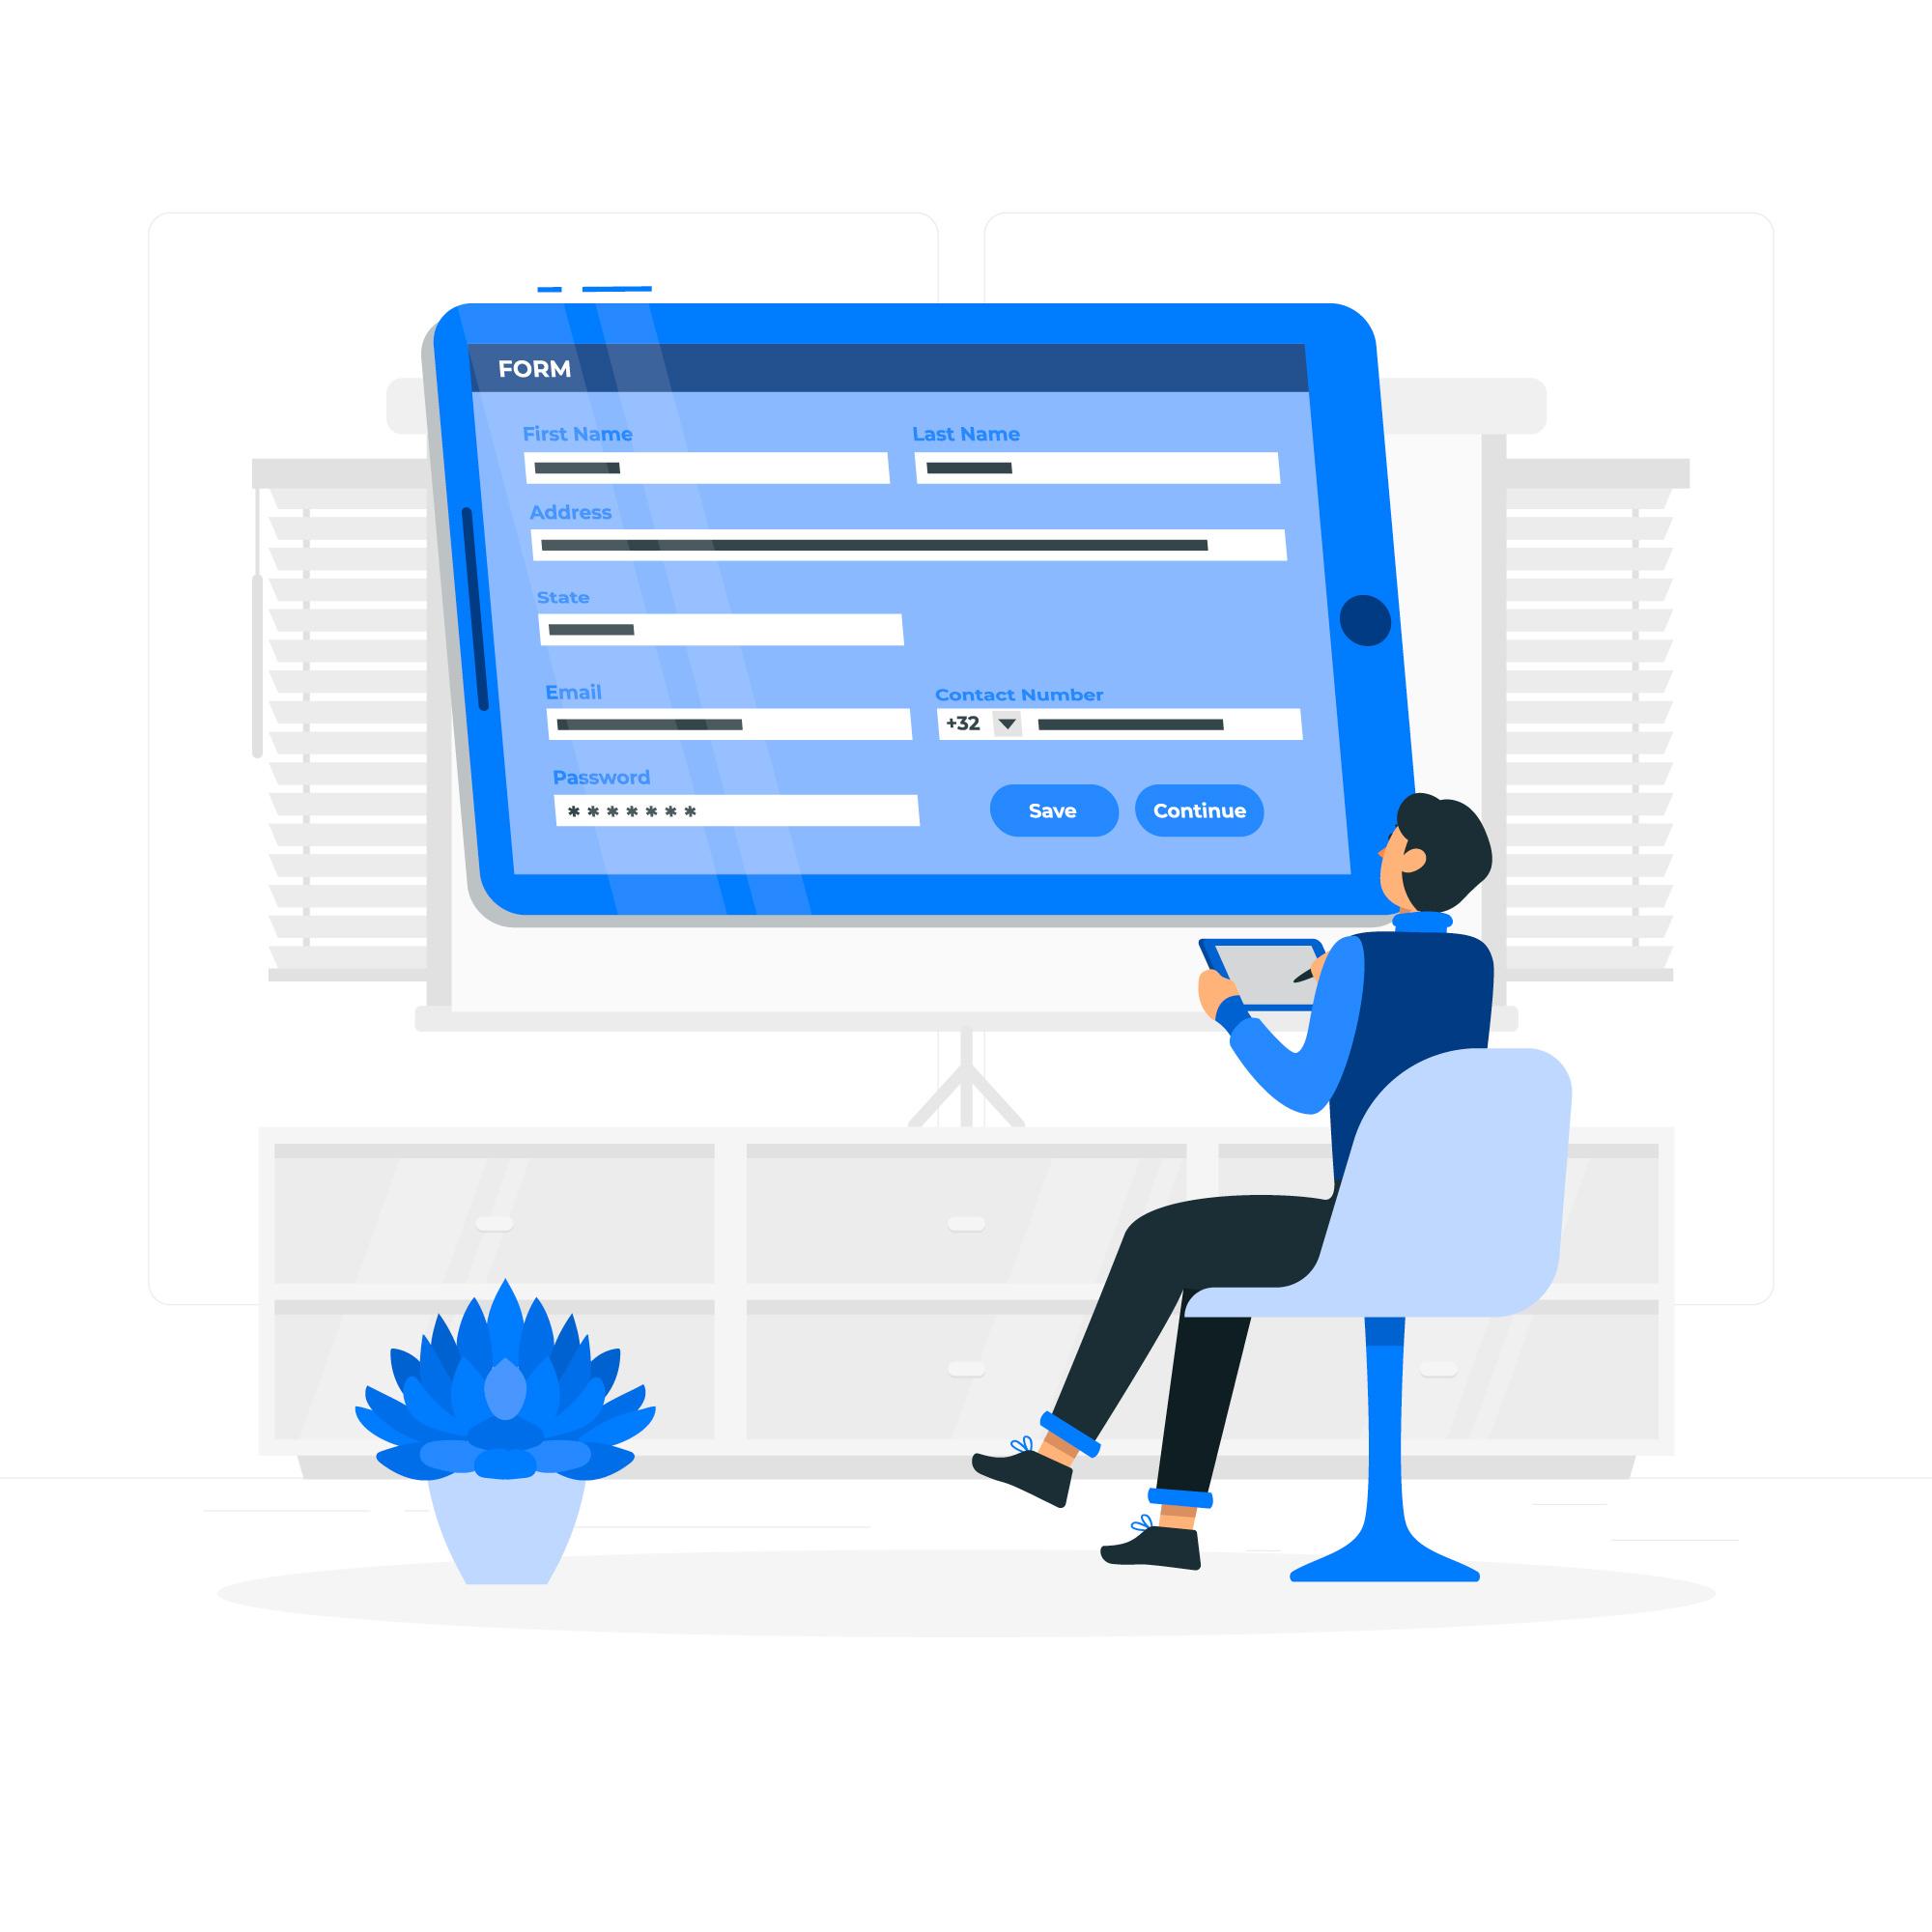
How to Download Backups in cPanel:
- Log in to cPanel: Open your web browser, navigate to your cPanel login page (
https://yourdomain.com/cpanel), and enter your cPanel username and password to log in. - Access Backup Section: Scroll down to the “Files” section in cPanel and click on the “Backup” or “Backup Wizard” icon to access the backup options.
- Generate or Access Backup Files: Depending on your hosting provider and cPanel version, you may have options to generate new backups or access existing backup files.
- Choose Backup Location and Download: Select the backup file you want to download, choose a backup location (server or local), and click on the “Download” button to save the backup file to your computer.
Best Practices for Downloading Backups in cPanel:
- Regular Backups: Schedule regular backups (daily, weekly, or monthly) to ensure that you have up-to-date copies of your website.
- Multiple Locations: Store backups in multiple locations (local computer, cloud storage, remote server) to ensure redundancy and easy access to backup files.
- Test Backups: Regularly test your backups by restoring them to a test environment or staging site to ensure that all files, database tables, and configurations are included and working correctly.
- Secure Storage: Use secure and encrypted storage solutions for storing backups to protect sensitive data and comply with privacy regulations.
By downloading backups in cPanel and following best practices for backup and recovery, you can protect your website’s data, ensure business continuity, and quickly restore your website to a previous state in case of emergencies or data loss incidents.
Here’s a step-by-step guide to help you download backups from cPanel:
Step 1: Log in to cPanel
- Open your web browser and navigate to your cPanel login page. The URL is usually
https://yourdomain.com/cpanel, where “yourdomain.com” is your website’s domain name. - Enter your cPanel username and password to log in.
Step 2: Access Backup Section
- Once logged in, scroll down to the “Files” section in cPanel.
- Click on the “Backup” or “Backup Wizard” icon to access the backup options.
Step 3: Generate or Access Backup Files
- Backup Wizard: If you’re using the Backup Wizard, you’ll have options to backup, restore, or download backup files. Click on the “Download a Full Website Backup” option.
- Backup: If you’re in the Backup section, you’ll see options to generate and manage backups. Click on the “Download” button next to the backup file you want to download.
Step 4: Choose Backup Location and Download
- Choose Location: After selecting the backup file, you’ll be prompted to choose a backup location. You can choose to store the backup file on your server or download it to your computer.
- Download: Select the “Home Directory” option to download the backup file to your cPanel home directory, or choose the “Generate a Full Website Backup” option and then download the backup file to your computer.
Step 5: Download Backup File
- Home Directory: If you chose to store the backup file in the home directory, navigate to the “File Manager” section in cPanel to locate and download the backup file.
- Download: Right-click on the backup file and select the “Download” option to save the backup file to your computer.
Step 6: Verify Backup File
- Once the download is complete, navigate to the location where you saved the backup file on your computer.
- Verify that the backup file is complete and not corrupted by checking its size and ensuring that it contains all necessary website files and data.
Conclusion
Downloading backups from cPanel is a crucial step in maintaining the security and integrity of your website. By following these steps, you can easily download backup files from cPanel and ensure that you have reliable backups of your website’s data and files for future restoration or recovery purposes.