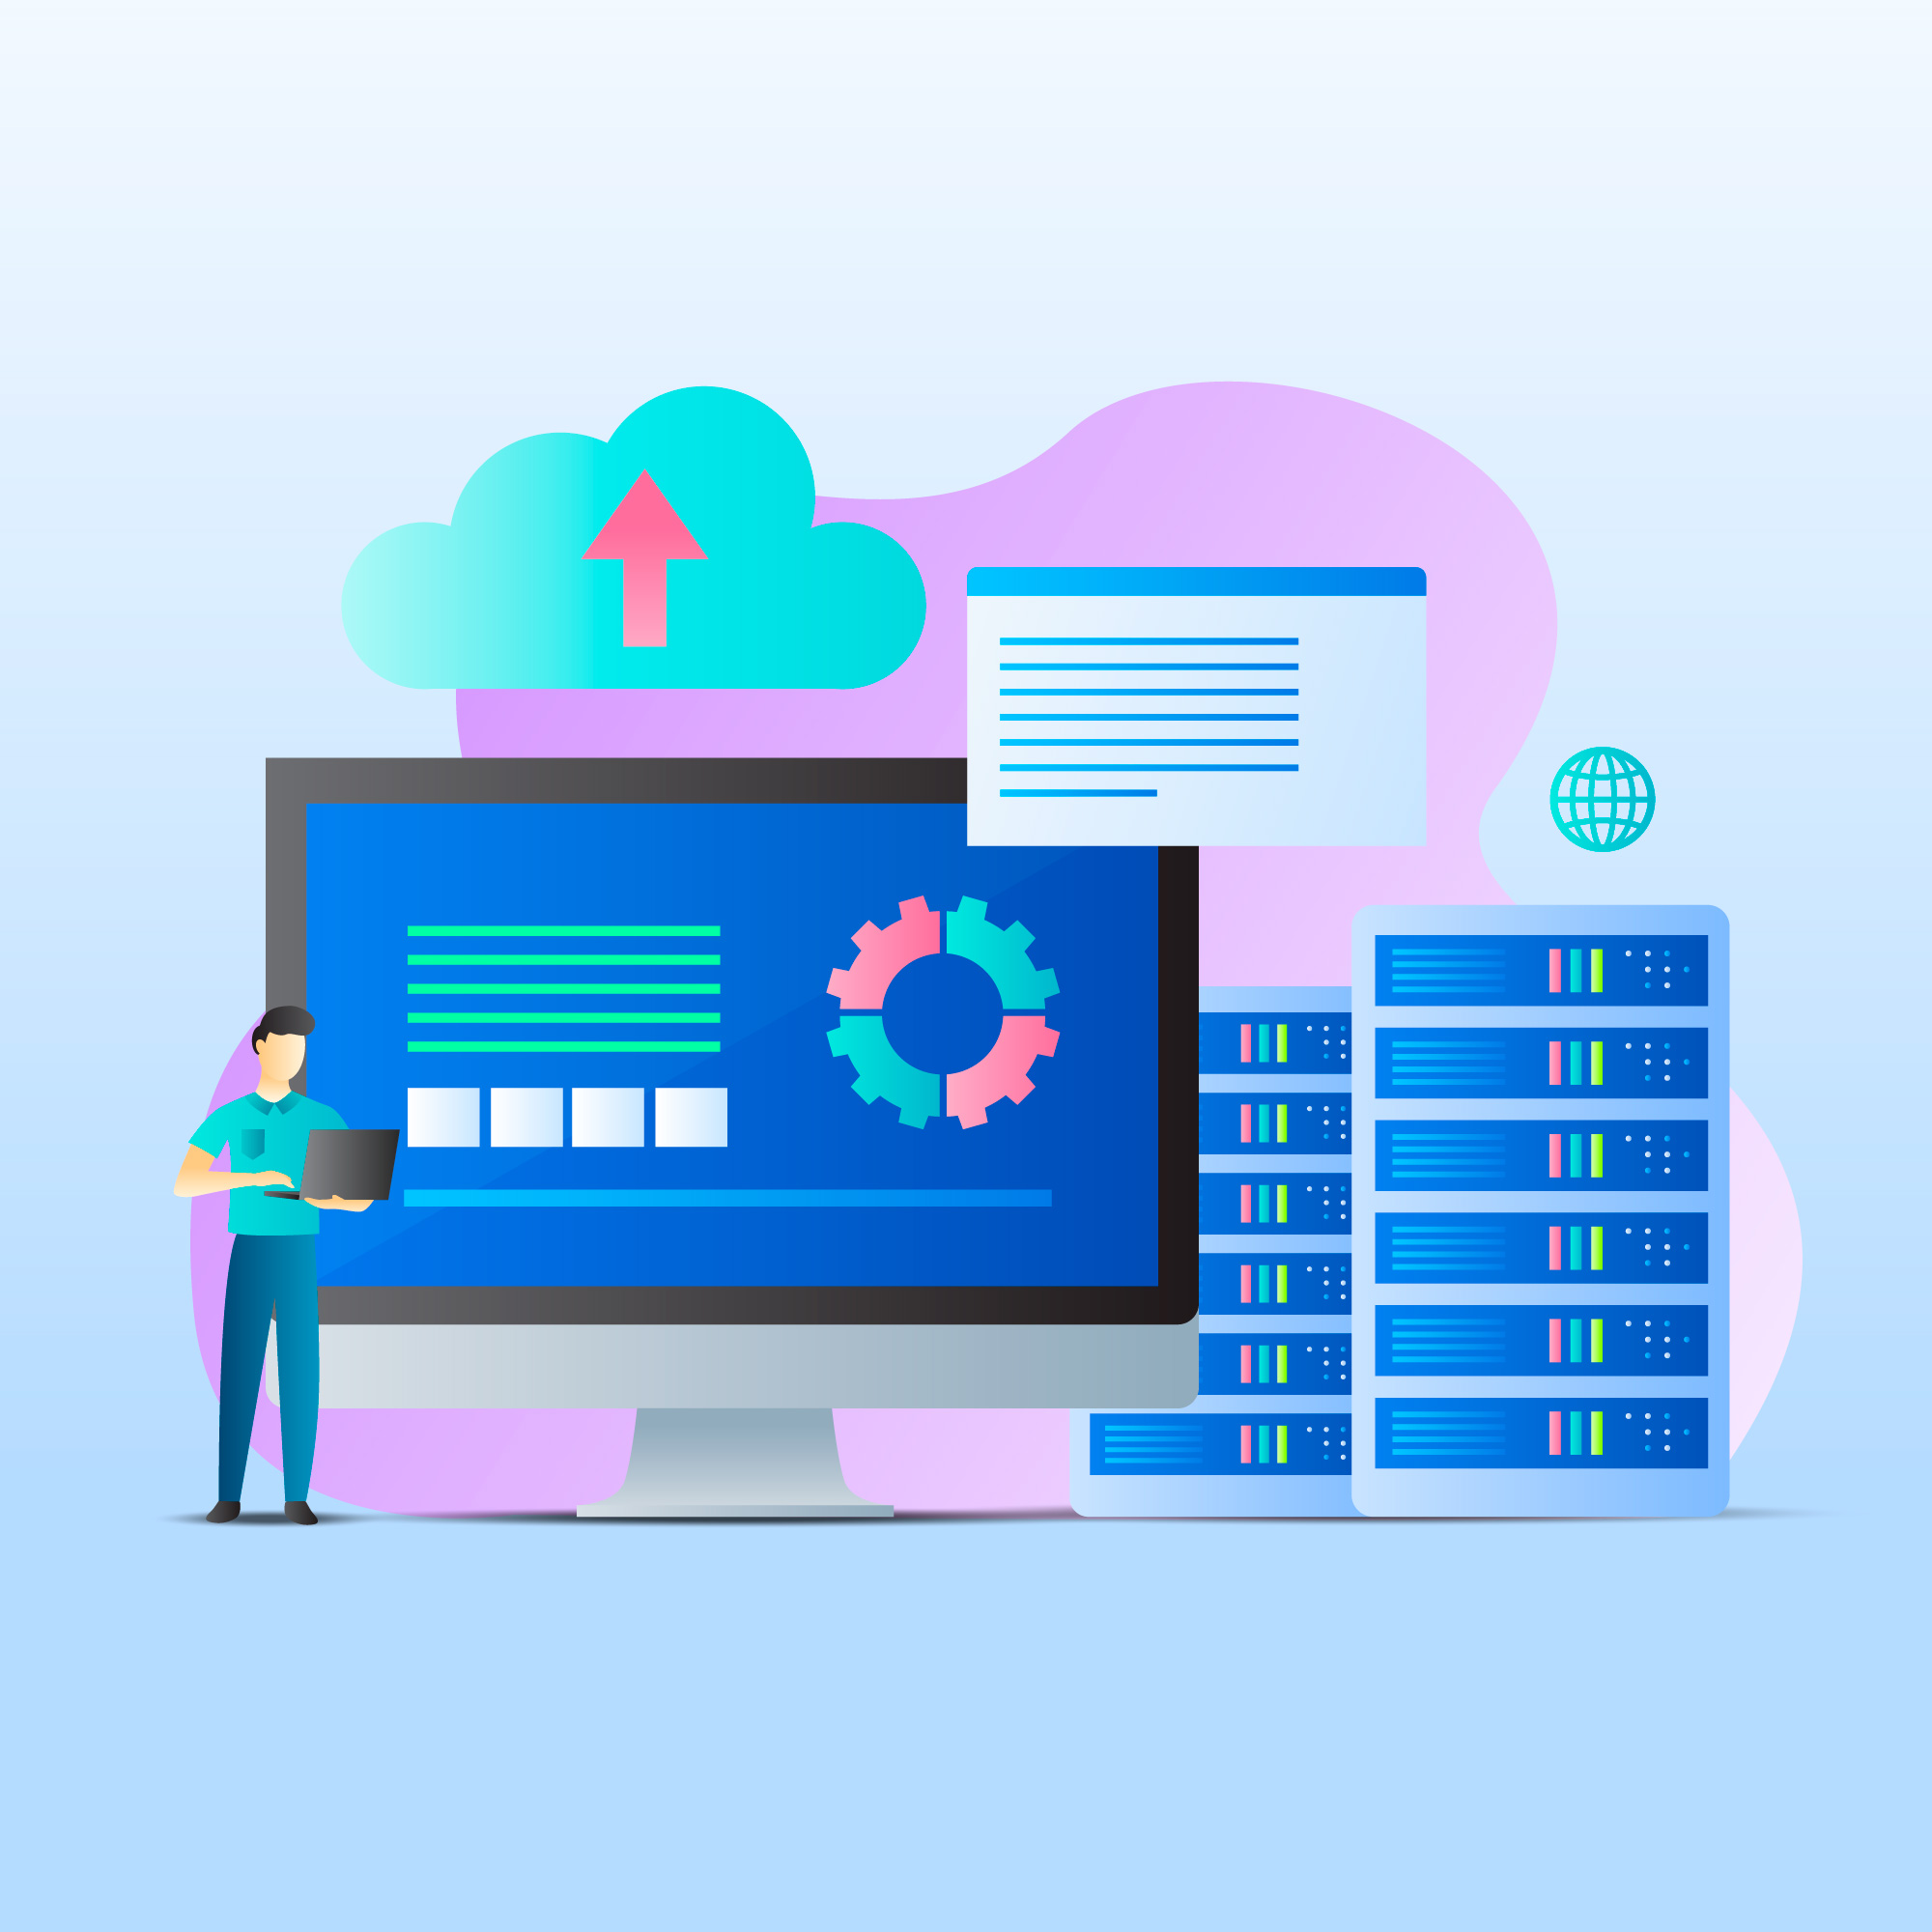
Automatic Backups refers to a system or process that regularly creates copies of your data such as website files, databases, or documents without the need for manual intervention
Backing up your website regularly is one of the most important things you can do to protect your data.
Whether it’s due to human error, a cyber attack, or server issues, having automatic backups in place ensures that your website can be restored quickly with minimal data loss.
cPanel offers several tools for setting up automatic backups, allowing you to safeguard your site without manual intervention.
Table of Contents
Set Up Automatic Backups in cPanel
In this guide, we’ll walk you through the steps to set up automatic backups using cPanel.
Why Automatic Backups Matter
Your website contains critical data—everything from website files to databases, user information, and email communications.
Without backups, a sudden issue could result in permanent loss of data.
Having automatic backups allows you to:
- Restore quickly: In the event of data corruption or loss, backups let you restore your site to a previous working state.
- Reduce downtime: Backups minimize the amount of time your site is offline, ensuring minimal disruption for users.
- Protect against hacking: If your website is compromised, you can restore a clean backup to recover your data.
- Recover from mistakes: Whether it’s a coding error or accidentally deleting files, backups provide an easy way to undo mistakes.
Now that you understand the importance of backups, let’s dive into the steps to set them up in cPanel.
Step 1: Access the Backup Options in cPanel
To begin the process, log into your cPanel account.
- Login to cPanel: Use the credentials provided by your web hosting provider.
- Locate Backup Options: Scroll down to the Files section, where you’ll find two backup tools: Backup Wizard and Backup. You can use either option, but the Backup Wizard offers a simpler, step-by-step guide, making it ideal for beginners.
For the purpose of this guide, we’ll use the Backup Wizard to ensure the process is straightforward.
Step 2: Choose the Type of Backup
Once you’ve accessed the Backup Wizard, you’ll be presented with two options—Back Up or Restore.
Select the Back Up option to create a new backup.
Full vs. Partial Backups
cPanel allows you to choose between creating a Full Backup or a Partial Backup.
- Full Backup: A full backup includes all of your website files, databases, email accounts, and configurations. This is ideal if you want to restore your entire site, including databases and email, to its original state. However, note that full backups cannot be restored through cPanel—you would need to restore them manually or request help from your hosting provider.
- Partial Backup: A partial backup allows you to back up specific sections of your website, such as:
- Home Directory: All website files and folders.
- MySQL Databases: Only the databases.
- Email Forwarders & Filters: Email-related settings and data.
If you’re planning to back up your entire site regularly, it’s best to opt for a Full Backup.
However, if you’re only concerned about certain elements (e.g., databases or emails), a Partial Backup may be sufficient.
Step 3: Set the Backup Destination
After choosing the type of backup, cPanel will ask you where you want to store the backup file.
There are several options for this:
- Home Directory: The backup will be stored on your server’s home directory, which you can download later.
- Remote FTP Server: If you prefer, you can send the backup directly to an external FTP server. This is useful if you want to keep backups offsite, reducing the risk of data loss if the primary server is compromised.
- Remote FTP Server (Passive Mode Transfer): Similar to a regular FTP transfer, but useful if your network has firewall issues that could block the transfer.
- Secure Copy (SCP): This is another option for securely transferring backups to a remote server via SSH.
Once you choose your backup destination, click Generate Backup.
If you’ve selected to store the backup locally (on the home directory), you can download it from cPanel once it’s completed.
If you’ve opted for remote storage, the system will automatic backups transfer the backup to the designated location.
Optional: Receive Notifications
During this step, you also have the option to receive an email notification once the backup is complete.
This is especially helpful if your backup is large and takes time to generate.
Enter your email address in the notification field, and cPanel will notify you when the process is done.
Step 4: Download or Automatic Backups
For full backups, it’s a good idea to download a copy to your local system for safekeeping, especially if you stored it on the home directory.
Navigate back to the Backup Wizard and look for your most recent backup file to download.
If your hosting plan supports automatic backups, the next step is to set a schedule for regular backups.
This way, you won’t have to manually create backups each time, and you’ll always have a recent version of your site available.
Step 5: Automatic Backups with Cron Jobs
If your hosting plan doesn’t come with automatic backups or if you prefer to have more control over the backup process, you can set up Cron Jobs to automate the backups.
Cron Jobs allow you to schedule tasks that run at regular intervals, such as daily, weekly, or monthly backups.
How to Set Up a Cron Job for Backups:
- Access Cron Jobs: Navigate to the Advanced section in cPanel and click on Cron Jobs.
- Backup Script: Depending on your setup, you may need a script to perform the backup. This script will handle the file and database backup process. You can get a custom script from your hosting provider or use a general backup script available online.
- Set the Backup Interval: In the Cron Jobs interface, set the time and frequency for the script to run. For example, you may choose to run the backup script daily at midnight or once a week.
- Save: Once your Cron Job is set up, cPanel will automatically run the backups at your specified intervals.
Step 6: Verify Backup Settings
After setting up the automated backup, it’s essential to verify that everything is running correctly.
Periodically check that backups are being created and that the files are complete.
You should also ensure that the remote storage (if used) is receiving the backups correctly.
Conclusion
Setting up automatic backups in cPanel ensures that your website data is regularly saved, providing peace of mind in case of unforeseen issues.
By following these steps, you can easily automate the process, either using the Backup Wizard or more advanced tools like Cron Jobs.
Regular backups are vital for any website, protecting against data loss, server issues, and security breaches.